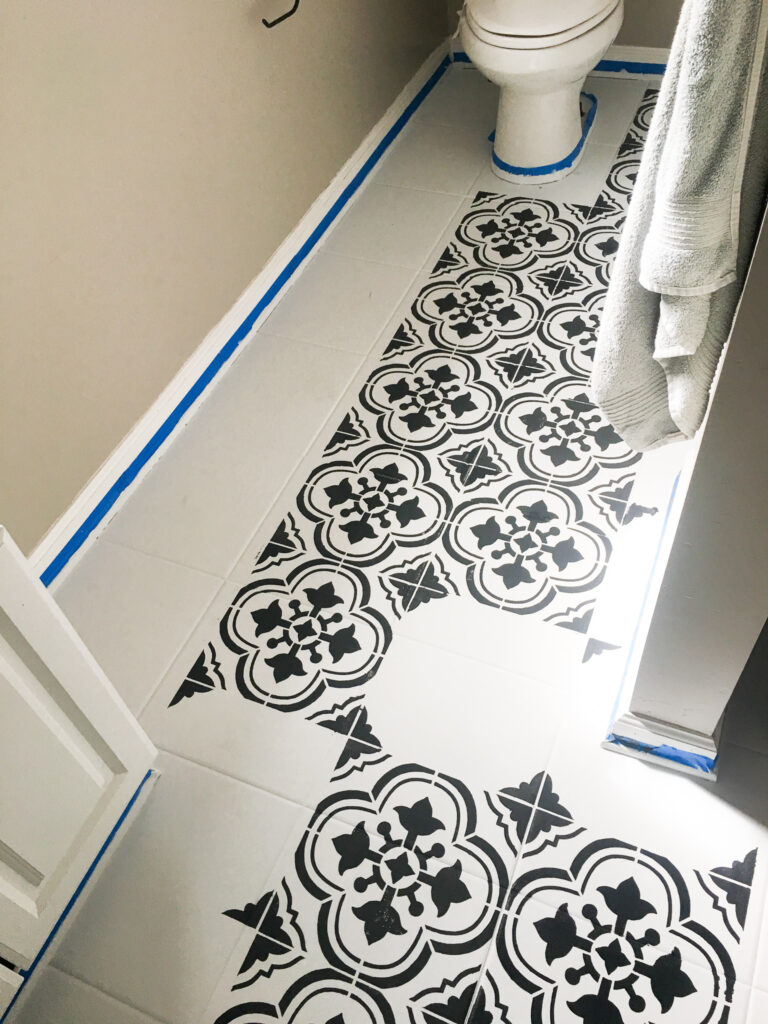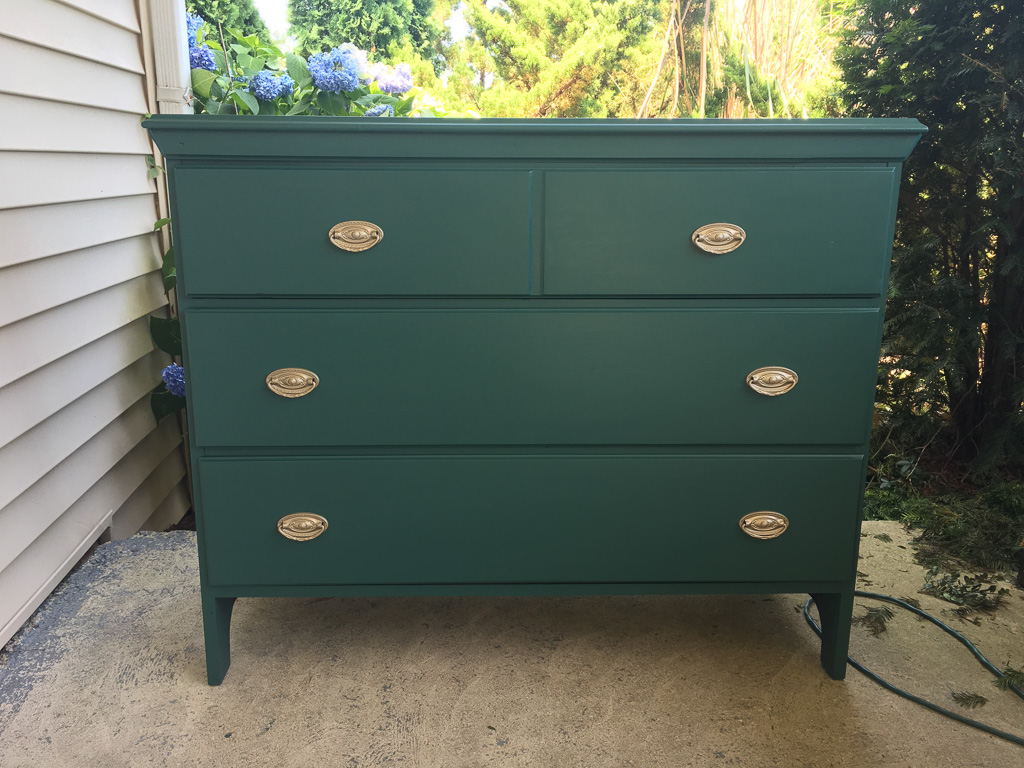
Dining Room Refresh with Boutique Rugs
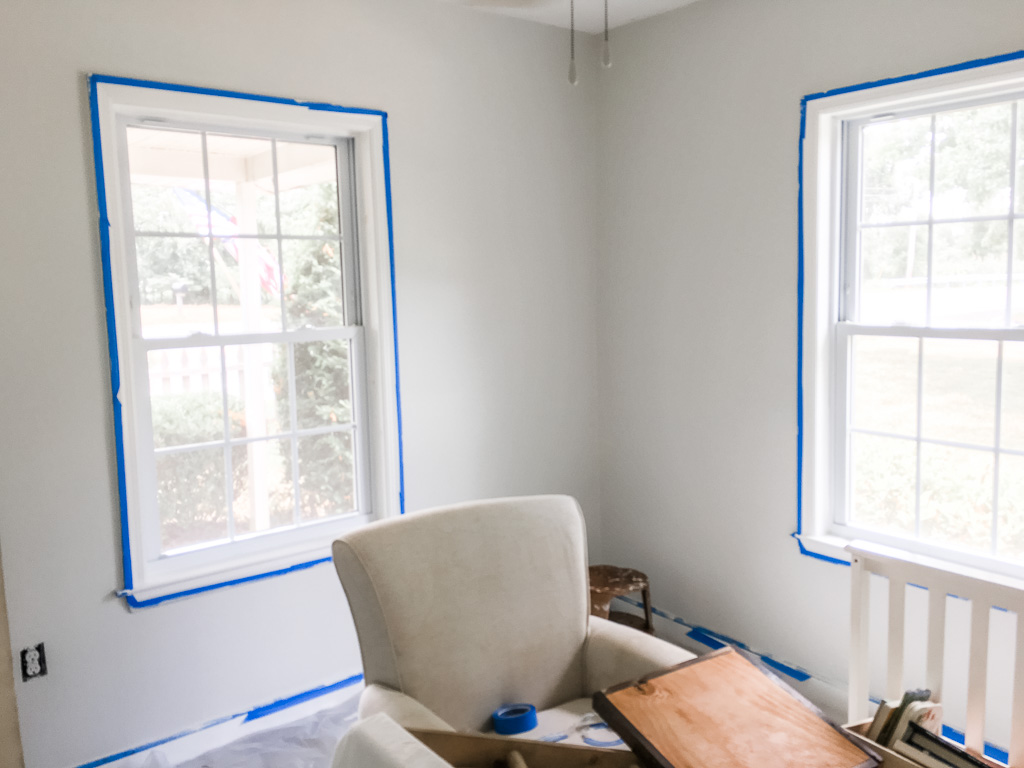
If you’ve been following my Instagram page for some time now, you’ll know I have pondered the idea of adding a rug to our dining space for a while. I love our dining room, but it never felt fully finished to me. Yes we changed…