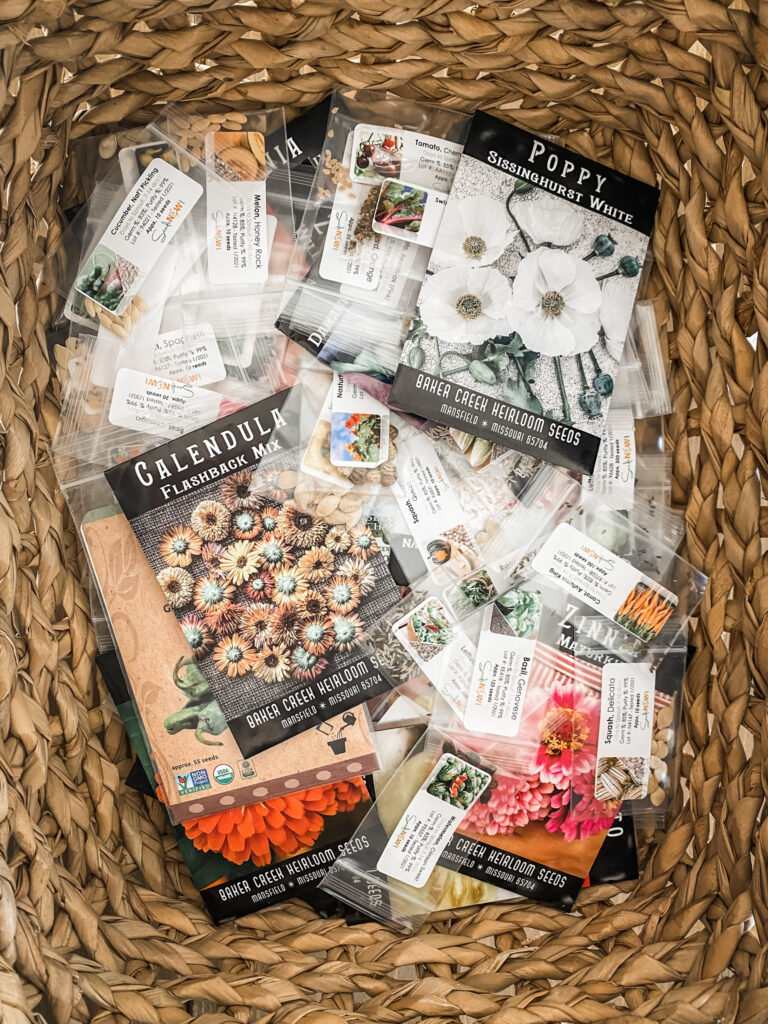
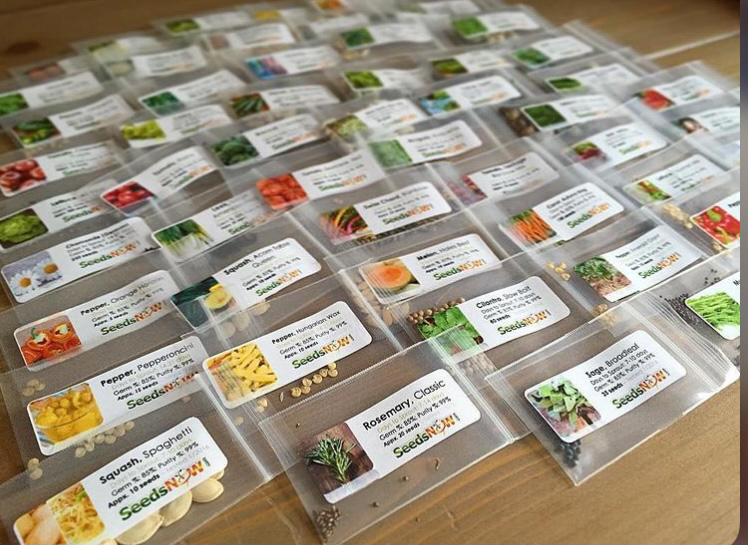
It’s seed starting time here in southern, NJ! To be honest, this year we started our seeds later than ever before (03/13). Although I still had seeds from last year, I did need to order quite a few. We have had a vegetable garden for 7 years now- between our old home and our new. For those 7 years we have always ordered from the company, SeedsNOW! This company is located in California & during a pandemic it is not easy to have things shipped on time- especially from California! We waited for their online site to open and as soon as they did, our order was placed! I could have started the seeds we did have, but I really wanted to start everything at the same time. The reason I love ordering from this particular company is mainly the price and the amount of seeds you get. They have the option to order sampler packs for as low as .99! Because we are a small scale garden, mainly for personal use and our humble roadside stand, this is the best option for us! The sampler packs don’t skimp on seed amount either. This year, we have also decided to try Baker Creek Heirloom Seeds. I can’t say how the seeds perform, but they shipped super fast even with the pandemic happening, they are beautifully packaged, and the website had an extensive selection of varieties. I cannot wait to see how they grow!
Why start seeds indoors?
When I started my first ever vegetable garden, I had no idea starting seeds indoors was even a thing. What I always pictured was going to a local nursery or big brand store, buying starter plants, sticking them in the ground, then reap the rewards! However, at the time there weren’t a lot of organic options when it came to the starter plants. The whole point of starting a garden (IMO) is to know the vegetables and fruits you’re growing are without all the nasty stuff- so to accomplish this I started researching seeds online. What I found was not only are there so many seed websites, but there are so many options for things to grow! Who knew there are so many tomato varieties! This is what excited me to learn all I could about starting seeds on my own. I wanted to grow things you couldn’t find from a local nursery- I wanted my garden to be diverse and unique to me! I had a whole lot to learn when it came to starting my seeds indoors. First off- the whole point of starting most seeds indoors, is to lengthen your growing season. We are zone 7B & your zoning is important to know when it comes to understanding your growing season. I would say our peak production time is July into August! In order to get the most out of your garden- you want to have sizeable and healthy plants when they go into the beds. Hence- starting the seeds ahead of time indoors! Most seed packets recommend starting seeds 8-12 weeks prior to the estimated last frost. Hint: google that last frost date! Of course, weather can be unpredictable so it is key to stay on top of any upcoming storms before transplanting outside. Now lets get into the how…
Supplies needed to start your seeds indoors
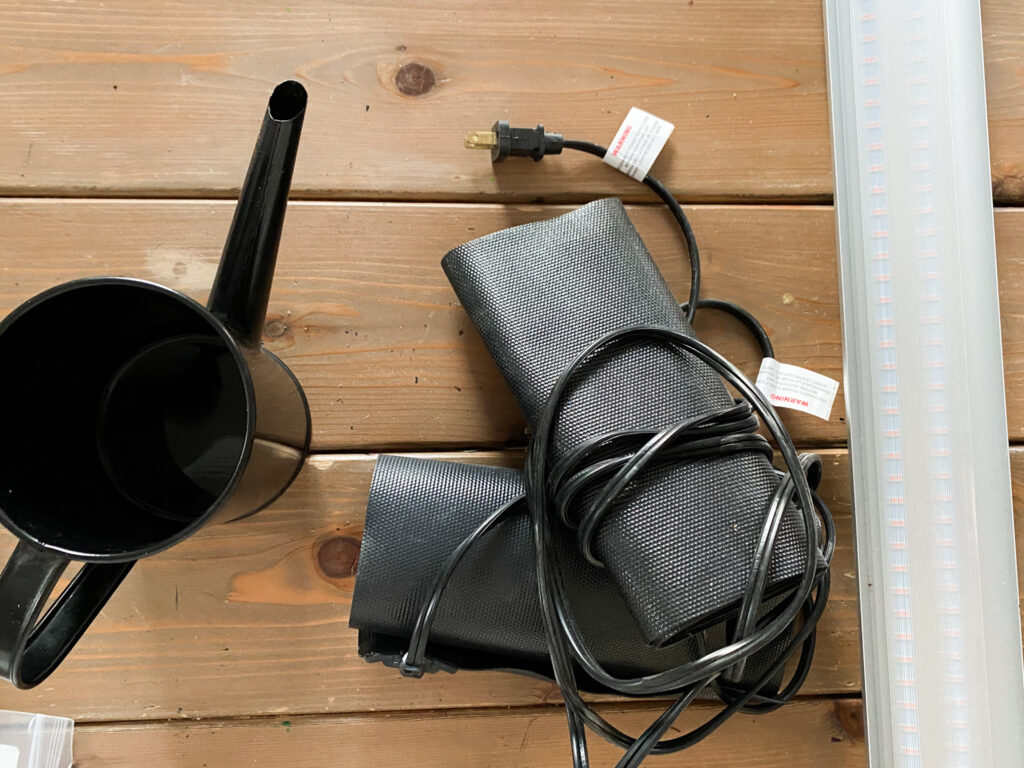
- Heating mat
- Seeds (research which company suits you)
- Growing tray or pots (pellets, capsules, or peat moss squares)
- Grow light (optional)
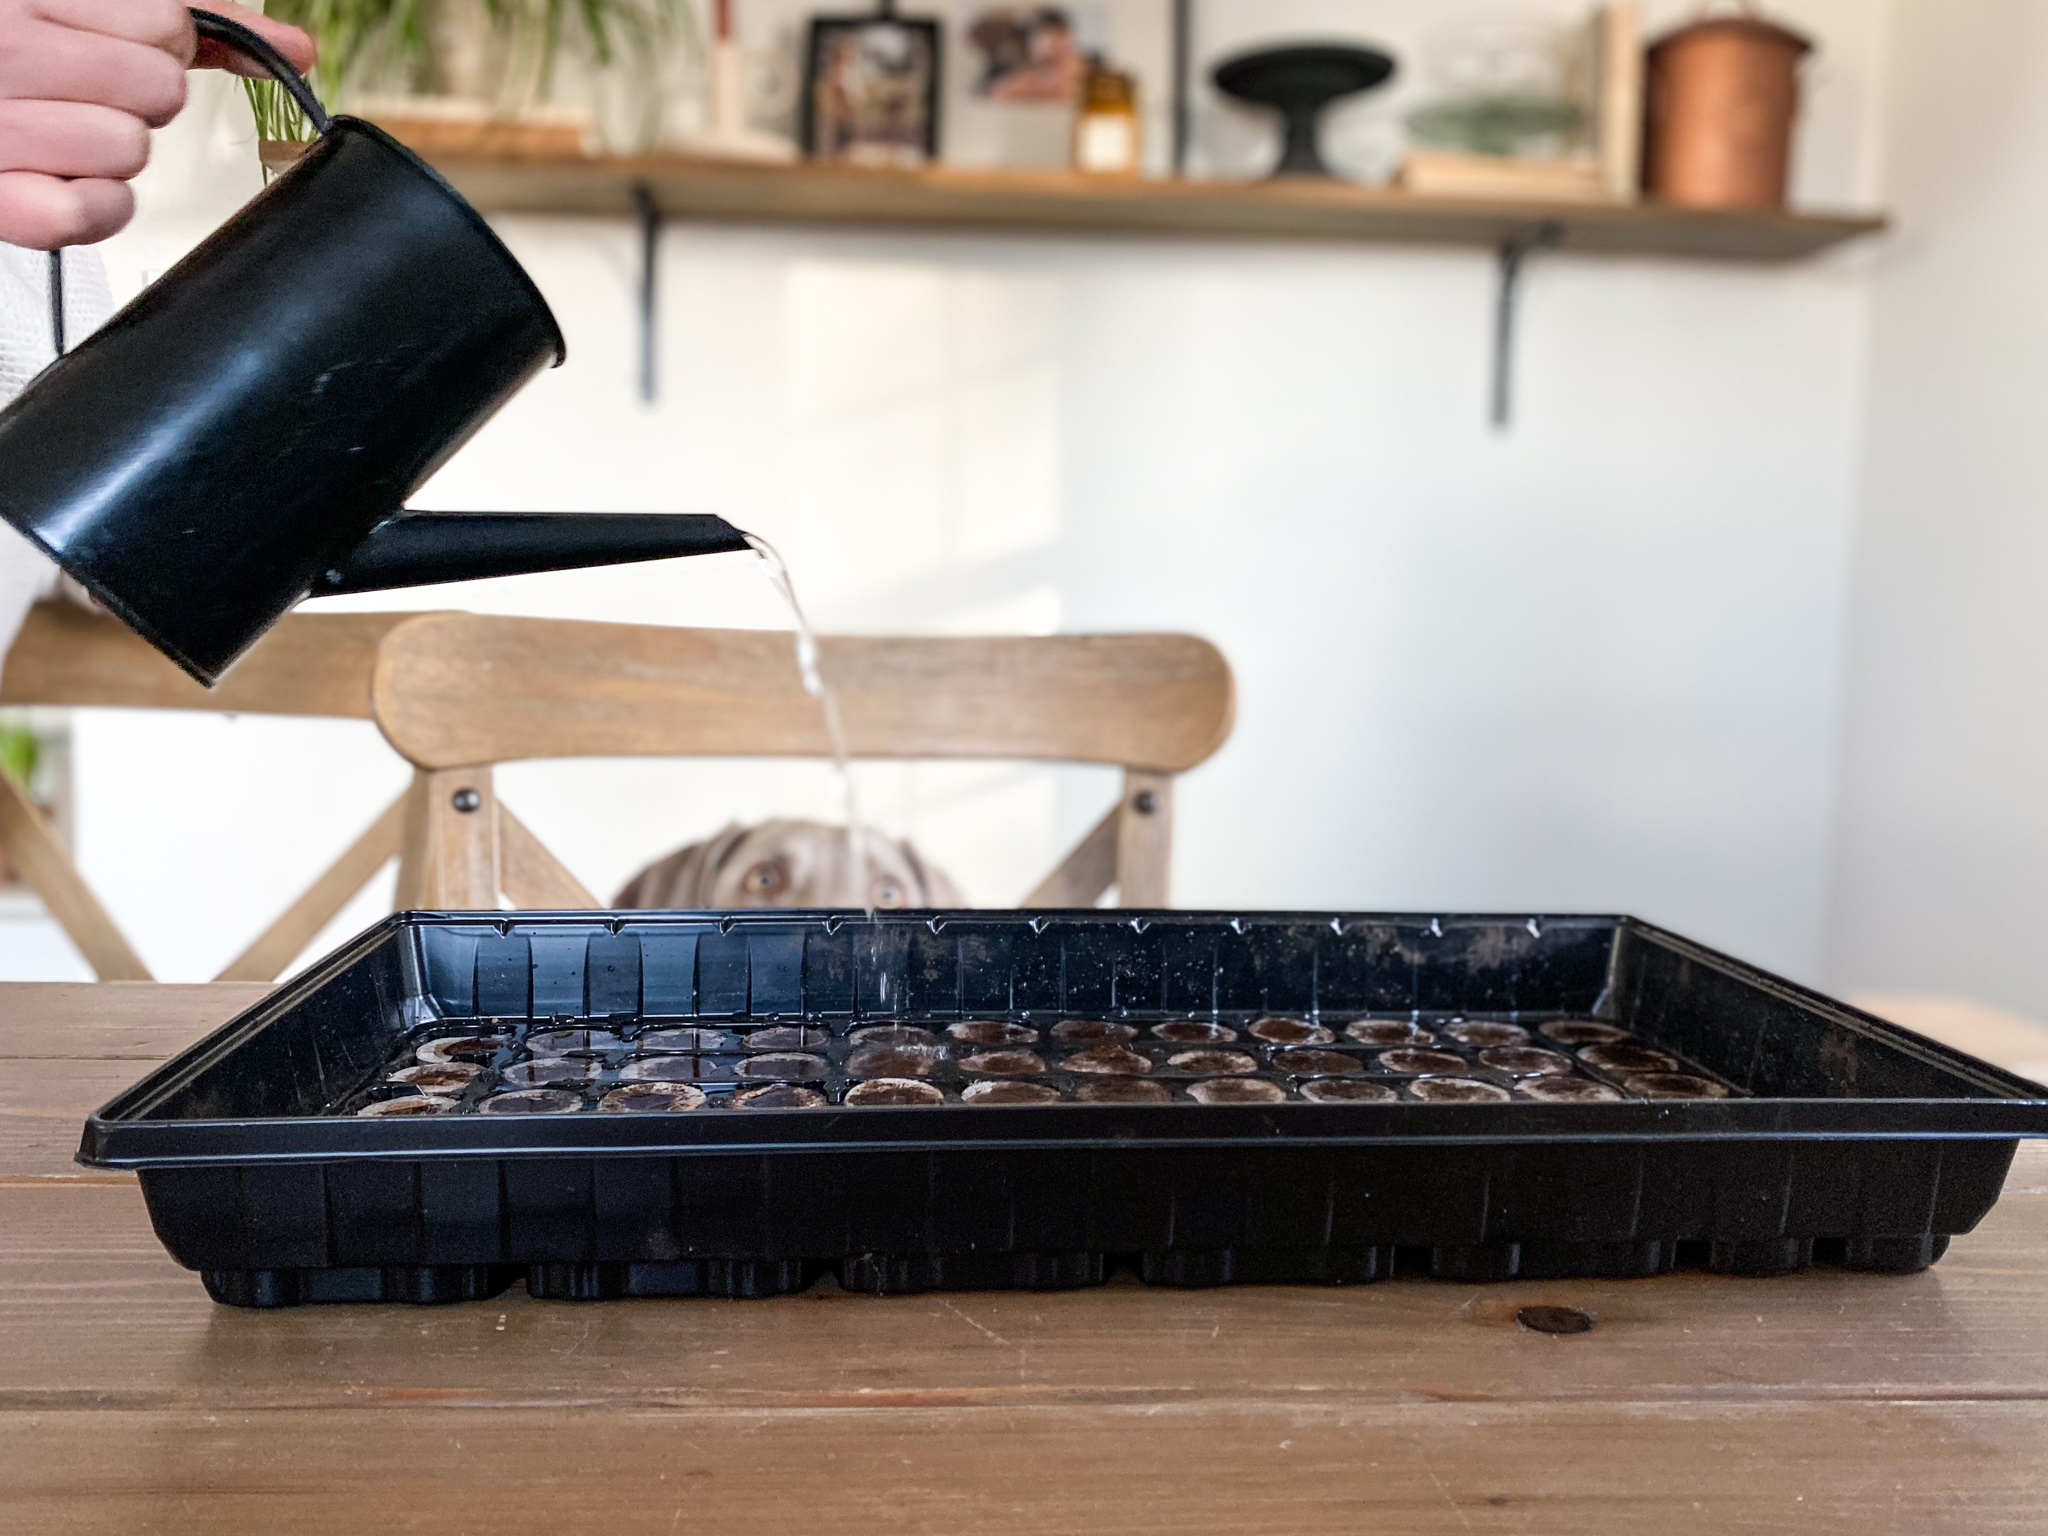
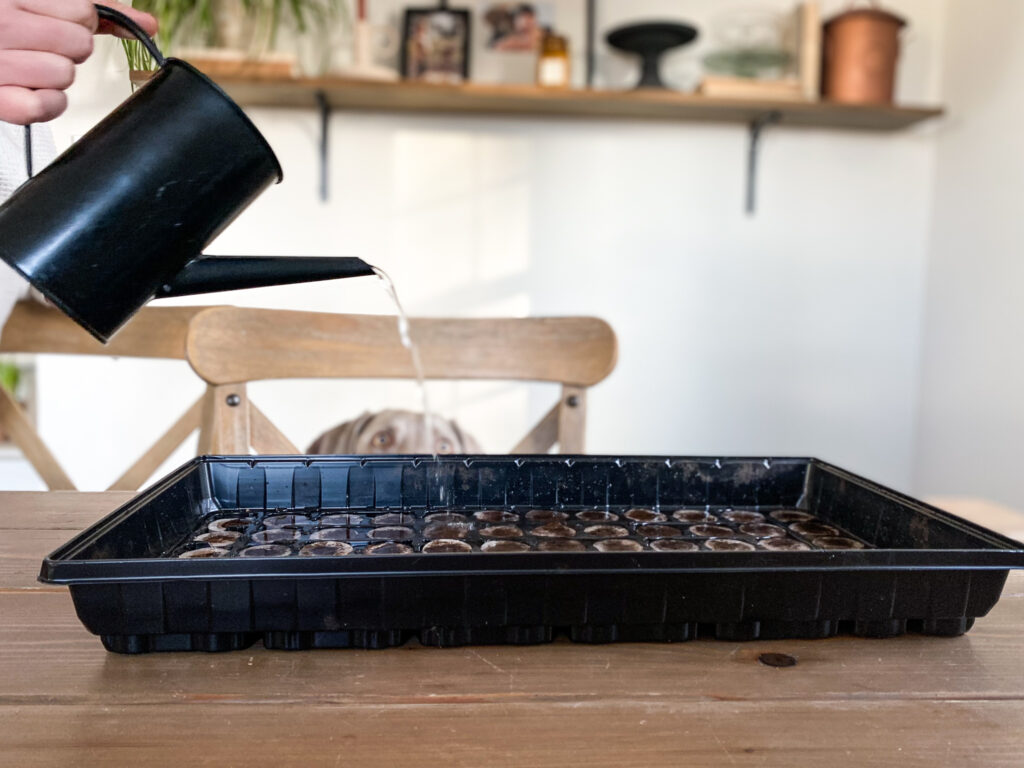
- Long spout watering can
- Shelving unit
- Plant Markers
How to get started
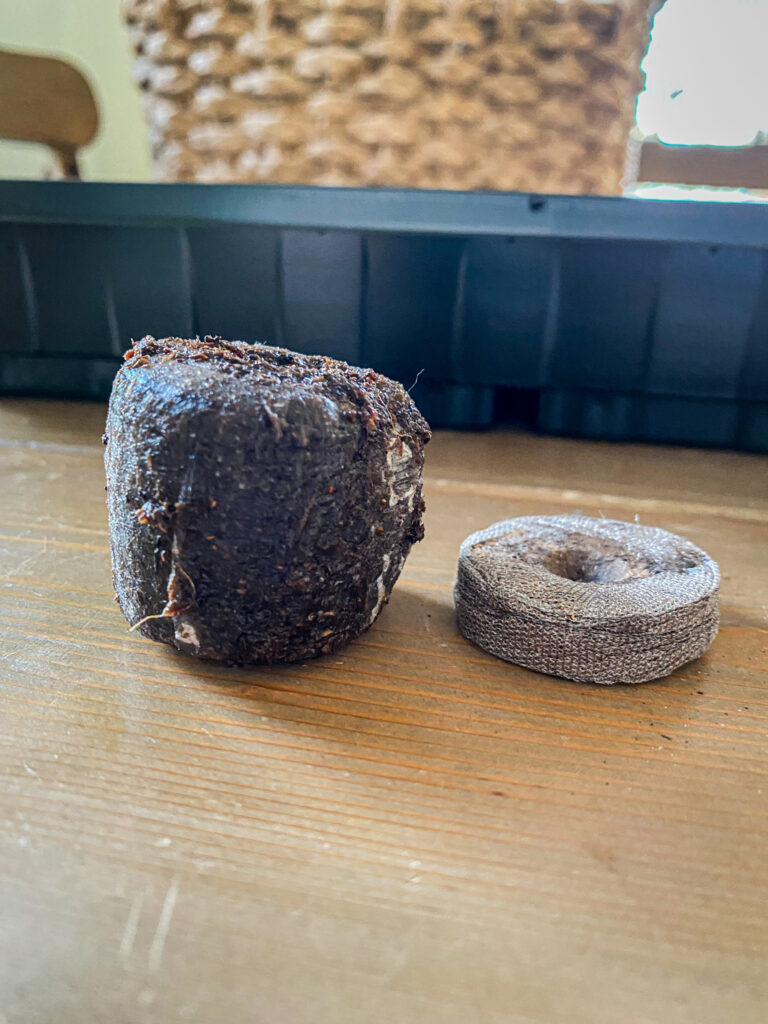
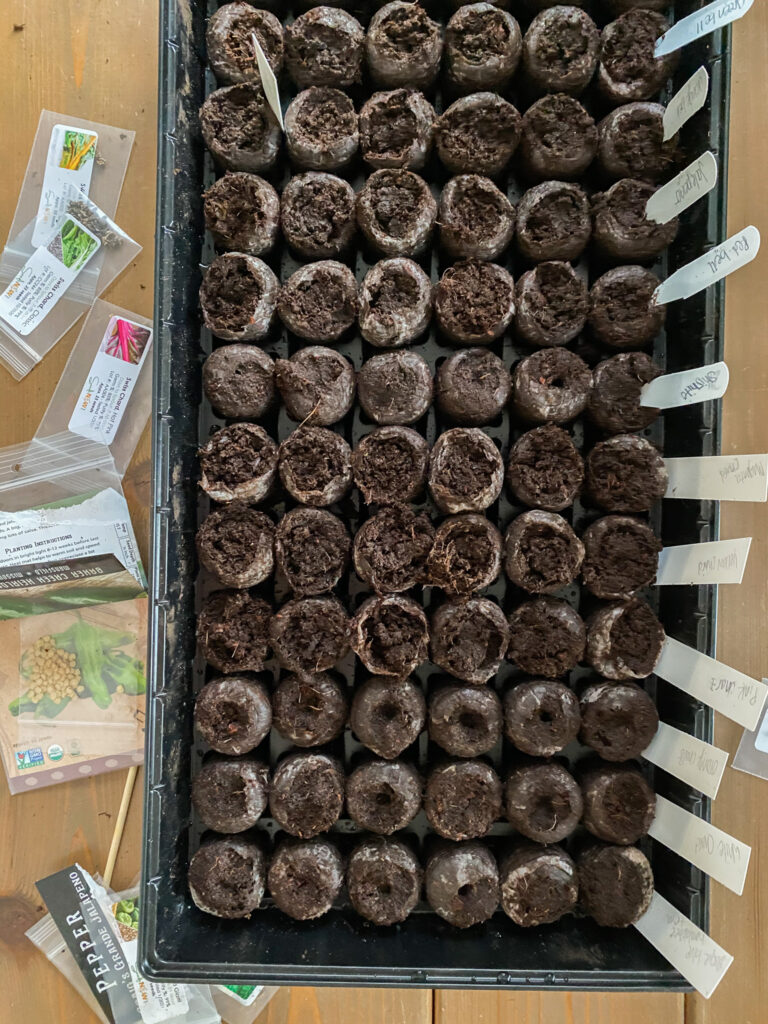
I just want to let it be known that I am not an expert when it comes to gardening- I am simply sharing with all of you what works for me! Every season I learn new things, and discover what works and doesn’t work! Gardening has a lot to do with trial and error. Now, lets get growing! What we do first is decide which seeds to grow together in which tray. I think it’s best to grow seeds together that generally grow at the same pace. Examples include growing beans with squash and peppers with tomatoes or herbs. Basically, keep the slower growing seeds together and fast with fast. Doing this helps control the height of your grow light, and when it’s OK to remove the lid on your growing tray. Speaking of growing trays- I have always used and probably will always use the Jiffy (not sponsored) pellet grow trays. We have a small scale garden- and this is what works for us! I love the pods and how easy they are to transplant into larger pots. The pellets are already filled with the seed starting soil and the tray itself is self watering for the most part. Once you decide which seeds to put together in each tray- it’s time to hydrate those pellets! The pellets come dehydrated and you will need to add a decent amount of water to get them to expand. Once they are fully expanded- then the soil is at the perfect moisture level to germinate your seeds. Keep in mind- adding too much water could damage your seeds and cause them to not germinate, and adding too little water will not allow for germination. It really is something you have to do gradually for success. Don’t overwater! Don’t underwater!
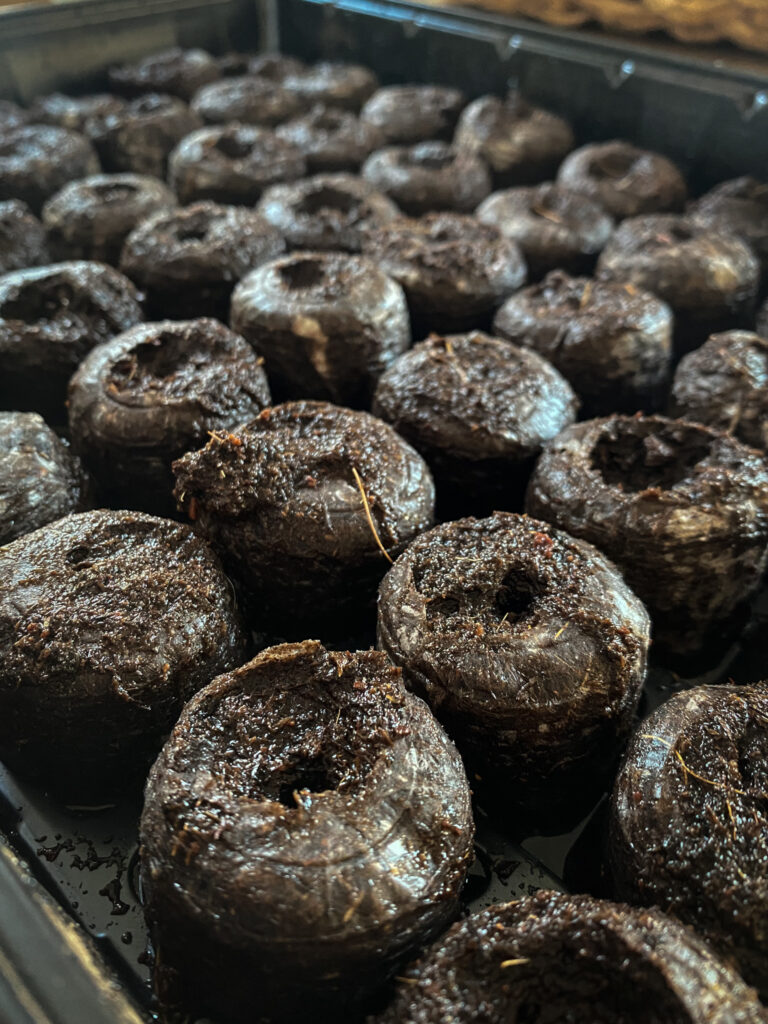
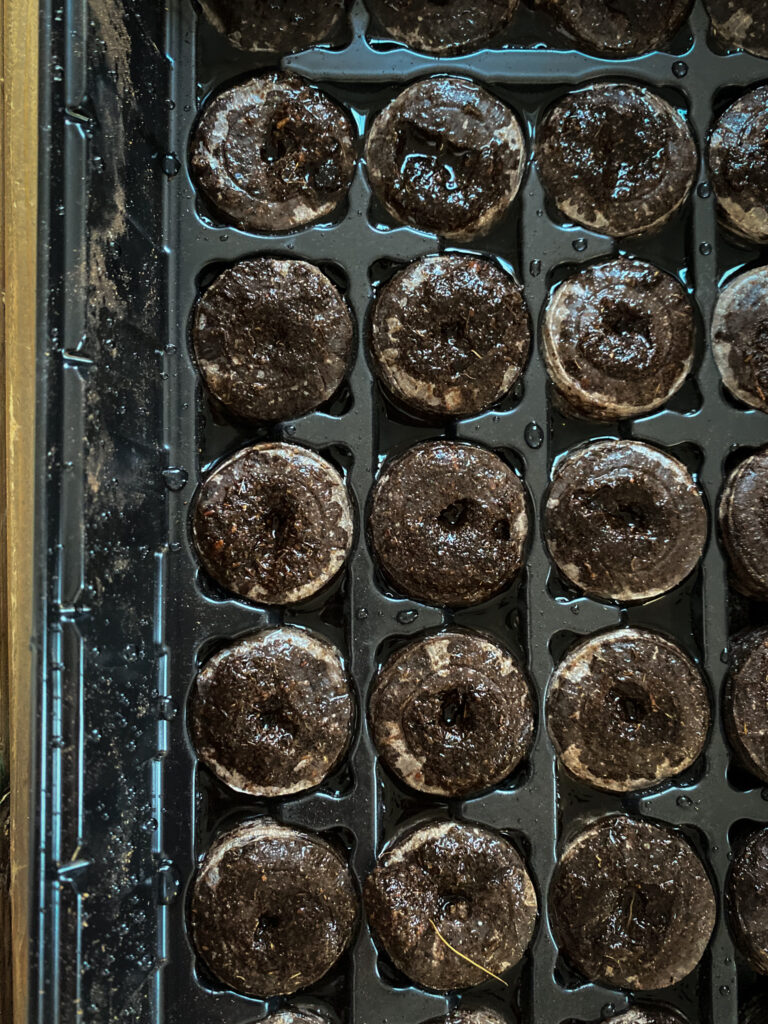
After the pellets have expanded, I use a little dowel to slightly loosen the soil in each one. Another thing to note, you never want to just put 1 seed in each pod. It is always best to put 2-3 or even 4 (depending on the size of the seed) seeds per pod. Doing this increases your chances for at least 1 successful germination! Every seed type is different when it comes to how deep you plant them into the pellet. I don’t know this to be a fact, but from my experience the larger the seed the deeper the planting depth. Pepper and tomato seeds only need to go about 1/4″ in depth. Whereas, beans and squash seeds can go closer to an inch! When in doubt, check the seed packet for information! Once planted, lightly cover with soil and place the lid (if your tray option has one) over the tray. I love the fact that the pellet trays have lids because it keeps the growing environment for the seeds nice and humid.
Seeds are planted, now what?
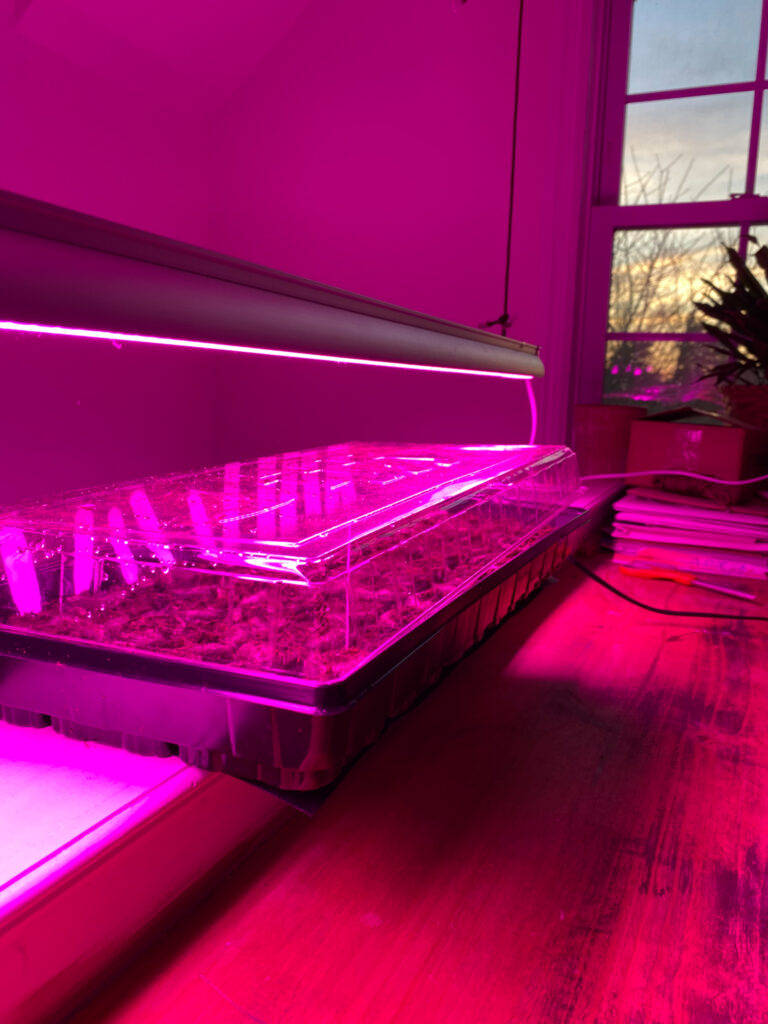
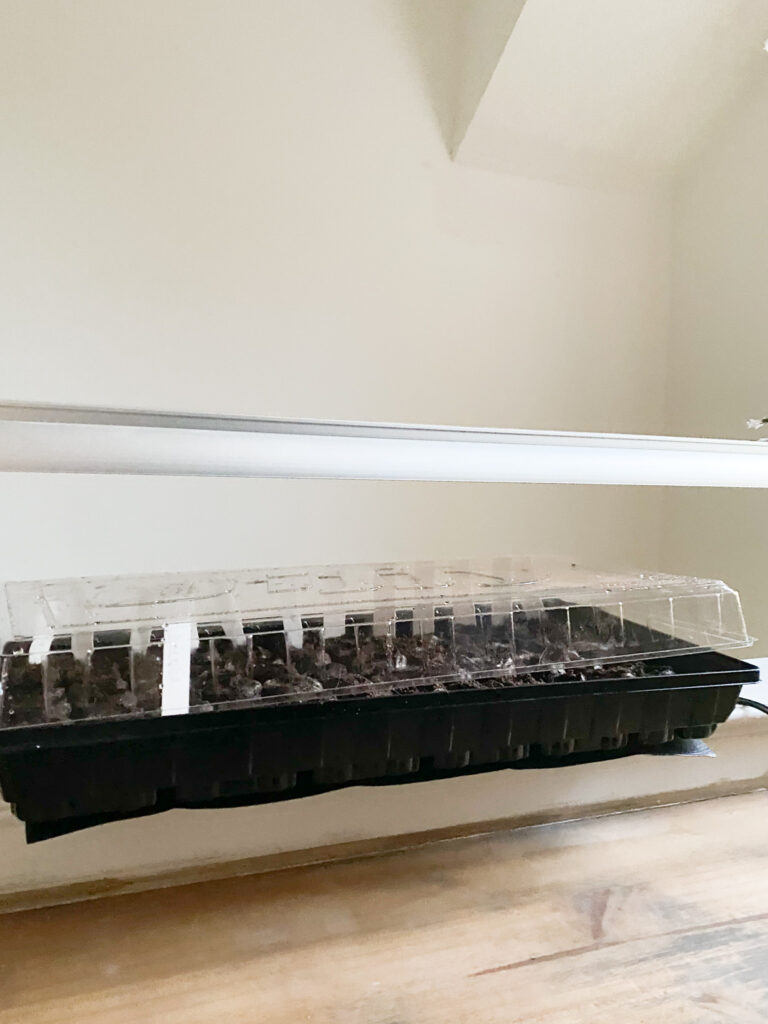
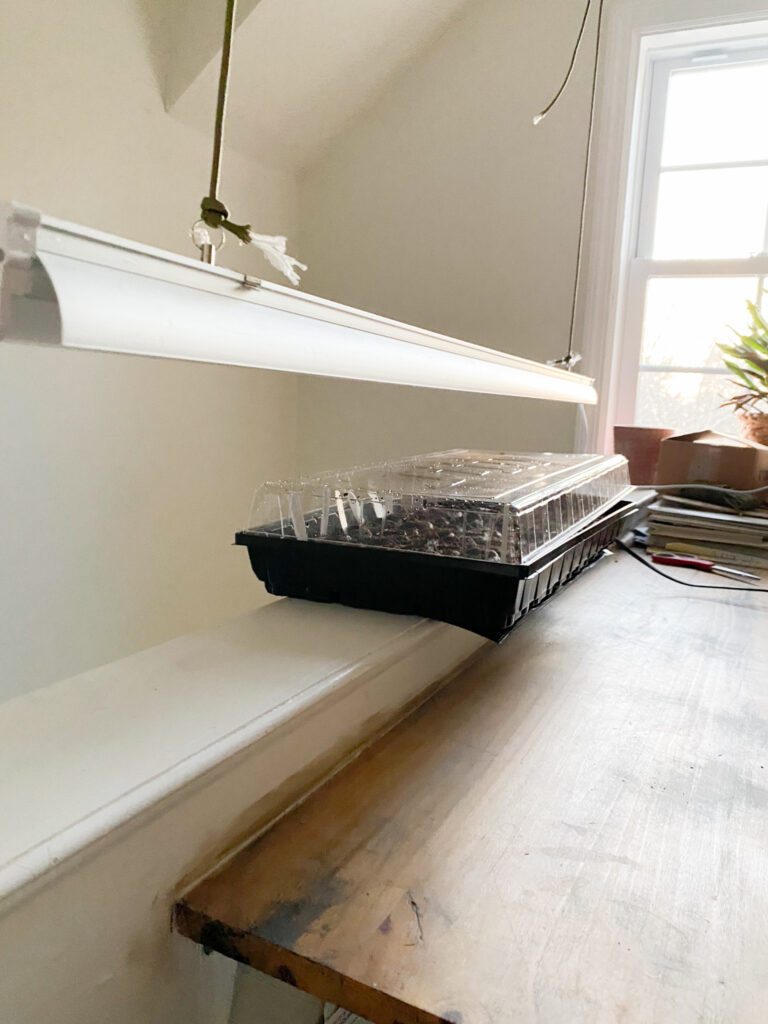
Phew! I know that seemed like a lot but it’s nothing but pure excitement and rewarding from here on out (hopefully)! So, seeds are planted, trays are covered, and you’re sure the pellets are properly watered, now what? Well, rewind to 2014 when I first started out I used common sense to figure out how to get the best results for germination. I knew seeds would grow best in a warm, sunny, and moist environment. I had the moisture and sunshine (thank you sunny guest room) part figured out, but how would I get warmth in the middle of winter to my seedlings? Heating pads! I didn’t know if this was even safe and I don’t know if they even had heating mats “back then” but I was determined and optimistic to try this out. I went to the store and literally bought heating pads that were shaped just like the trays- I’m pretty sure they were meant for your back, LOL. Well, guess what? They worked! As soon as I would lift the lid on the trays, I could feel the humidity pouring out. I was pumped! Success all thanks to some back heating pads! Let’s just say, I am so thankful for the heating mats we now (safely) use to germinate our seedling trays! It’s simple really- you put your freshly planted tray on top of the heating mats, in a sunny spot (we now use grow lights due to lack of sunlight and quicker germination) and keep that mat on until your trays have fully germinated!
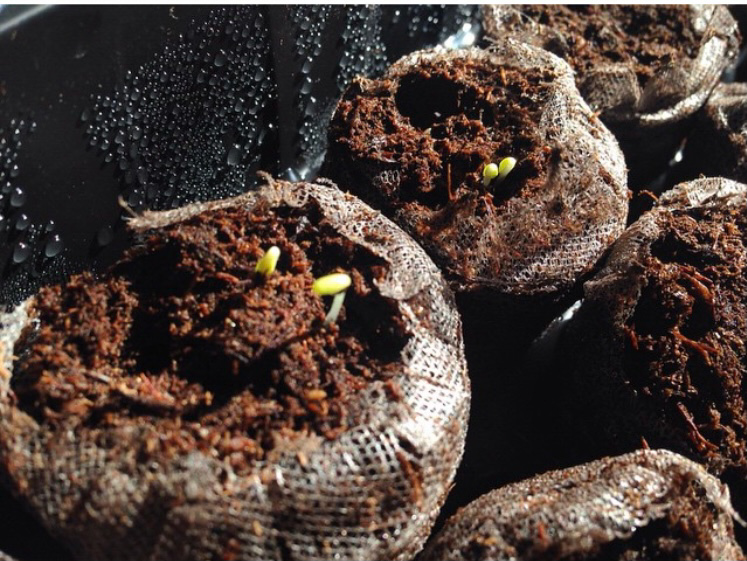
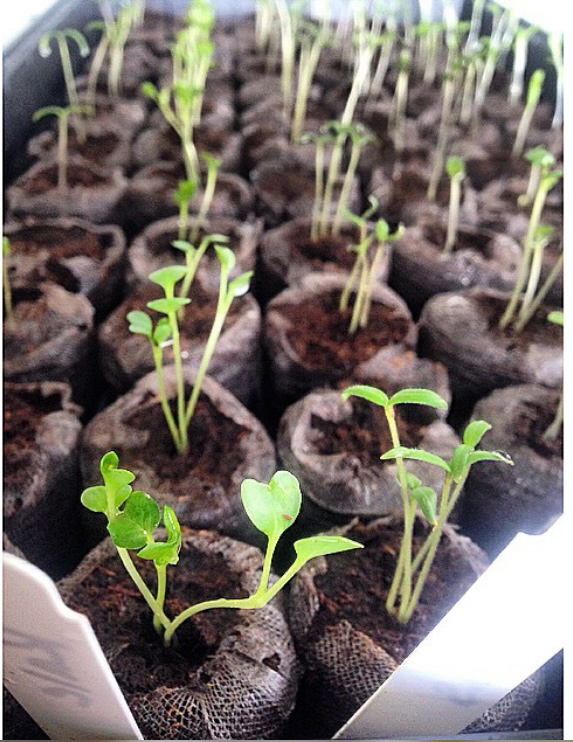
Watch your seedlings GROW
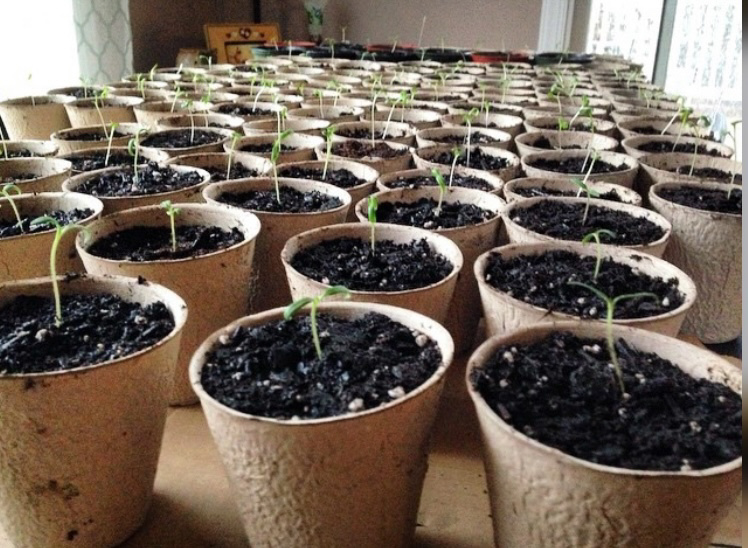
The best part of gardening is watching your little seed grow! The boys and I love checking each day for little sprouts of green to pop up out of the soil and begin reaching for the light! It is so rewarding to know you helped it do that! I don’t want to get technical when it comes to sunlight, temperatures, and moisture, because I am not a technical gardener. I try my best to observe my seedlings and let them tell me what they need. For example, if they are looking very tall or “leggy” than they need more sunlight or for the grow light to be moved closer to the seedlings (about 4″ from plant is what I follow). If the seedlings are looking too yellow and not a vibrant green, than they are being over watered. Observation is key in the seedling phase!
Tips and tricks
In conclusion I hope you take away the amount of work that goes into even starting a garden- if you choose the seed route! I want to leave you with a few quick tips that I will eventually go further into detail on in a future post, but I still think it’s important for you to learn now!
- Always check soil moisture / never want a dry pod
- remove lid once all seeds have germinated
- start your seeds 6,8, or 12 weeks prior to last frost
- keep heating mat on until “true leaves” appear
- grow light stays approx. 4″ from seedlings
- seedlings need darkness too so I turn off at night
- do not transplant into larger pots until “true leaves” appear
- Have FUN!
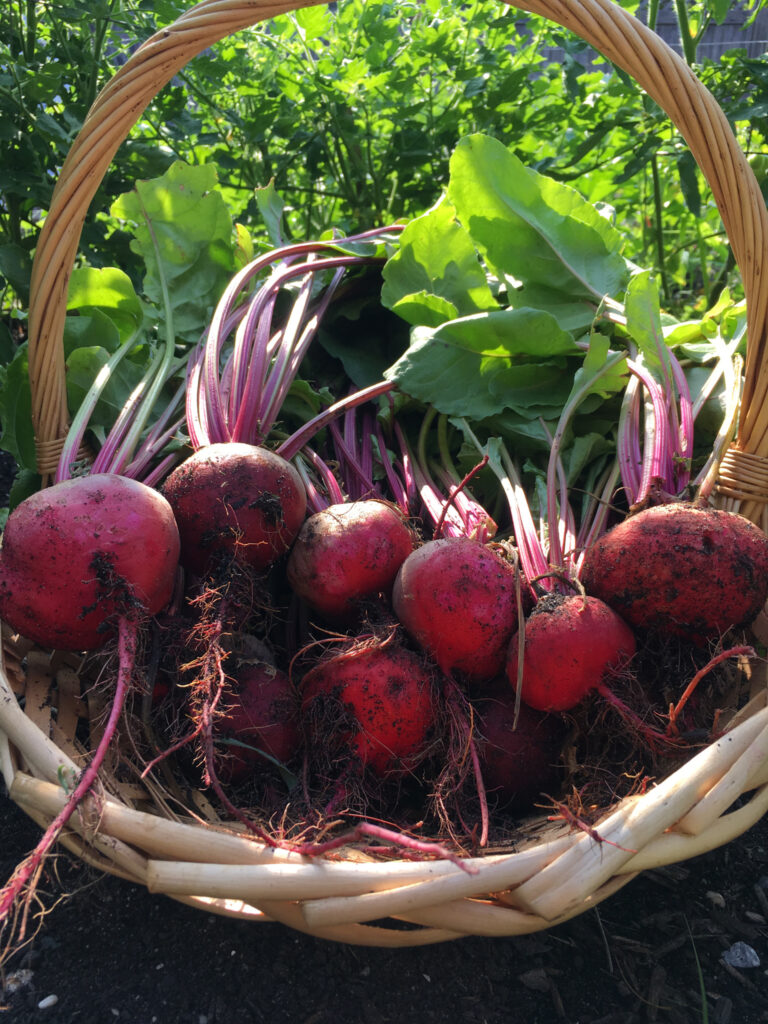
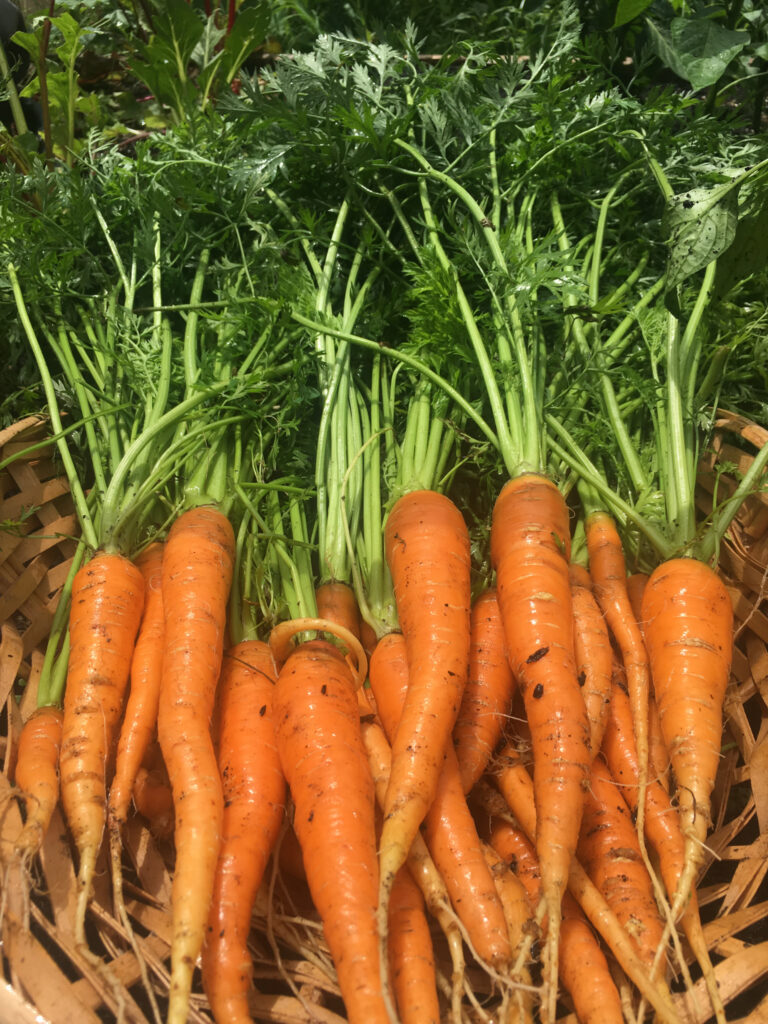
I cannot wait for this years growing season and to once again, watch our seeds turn into seedlings, into plants, and into yummy vegetables! Gardening IS a lot of work, but the rewards are worth it! I sincerely hope you have learned something from this post and I hope to inspire any new gardener to get out there and GROW! Happy Planting!